
Member Portal & Smart Meters Tutorial
A handy guide on navigating your new Member Portal with Smart Meter integration.
Step 1: On IWA’s home page, click the Member Account Portal button on the top right. If you’re on mobile, hit the “=” on the top right and then click on the Member Account Portal button.

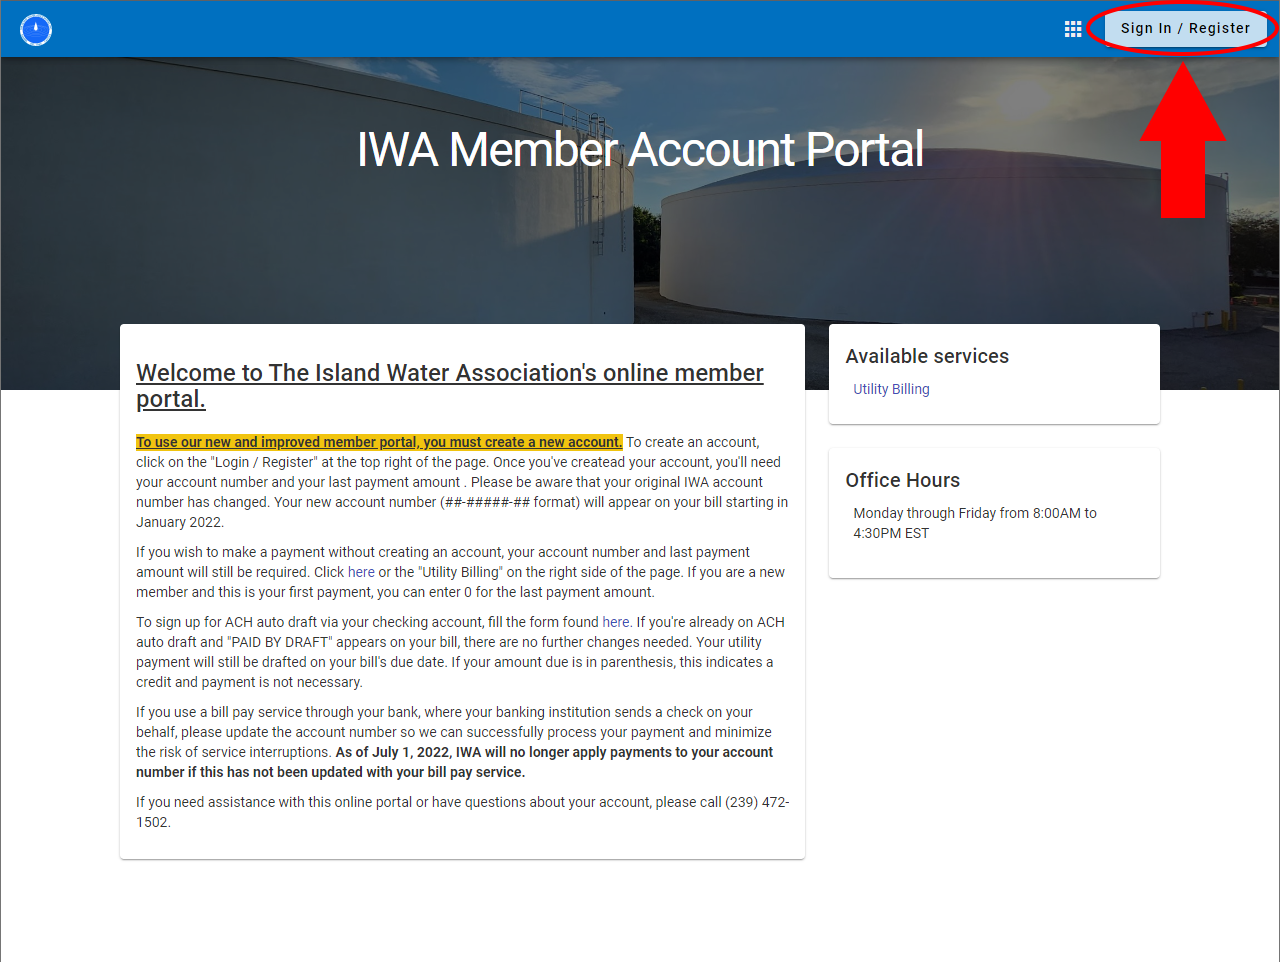
Step 2: Click on Sign In / Register on the top right. If you’ve previously created an account you can sign in. If not, click on Register and follow the instructions.
Step 3: If you’re registering an account, please note that the password requirements are 9 characters (must include 1 capital, 1 lowercase, 1 number and 1 special character). Once you register, check your e-mail for a link to click on to activate your account.

Step 4: Once you’re signed in, click on Utility Billing on the right side.

Step 5: If this is your first time using the portal you will have to add your account. Click the “Add an account” button and enter your full account number (with dashes) and your last payment amount. If this is a new account and you have not made any prior payments, enter 0 in the Last Payment Amount box.

Step 6: If you entered in the correct data you will see a message on the top saying the account was successfully added and you will be taken to the Utility Billing Home page. If not, contact us at (239) 472-1502 and we can give you the information required to continue. If you wish to add an additional account, click on “Manage accounts” in the left menu and then “+ Add Account” and follow the same instructions in step 4. You can sign up for e-billing in the “Contact preferences” in the left menu as well.

Step 7: Click on “Account detail” in the left menu and you’ll be taken to the Account Summary page. This shows your account information, status, previous balance and your most recent bill.

Step 8: You can view your bill/payment history in “Transactions” in the left menu. Please take this time to make sure your contact information is accurate in “Contact preferences”. In “Consumption” you will see your daily/monthly usage in an interactive graph, which day you’re currently on of the current billing period, and your estimated bill-to-date. If you wish to receive e-mailed alerts for potential leaks or abnormal usage, you can start by clicking the “Manage Alerts” button on the top right. (pictured below)

Step 9: In the Manage Alerts page, you can opt-in to receive e-mailed alerts if the smart meters detect a leak (24 hours of continuous usage) or set alerts based off billing/consumption thresholds. Please note that these are completely optional, however, we do recommend to turn on the Leak Alerts function. If you’re setting up a consumption threshold alert, please keep in mind that the number you write in is in thousands of gallons (example: 1.150 = 1,150 gallons. 0.140 = 140 gallons). When finished, click “Sign up” on the bottom right to save your preferences.

Please don’t hesitate to call us if you have any difficulties signing up or viewing your consumption.